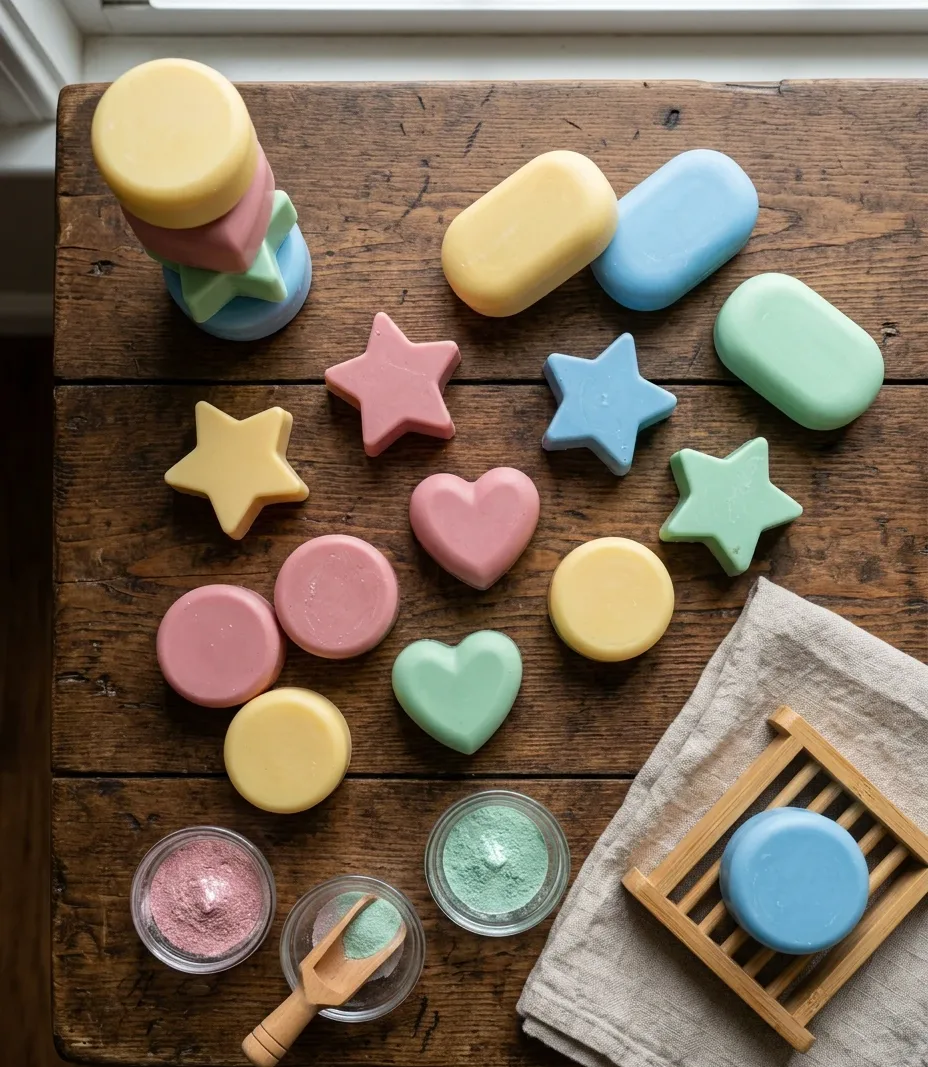
A friend once handed her eight-year-old a block of clear soap base, a box of cookie cutters, and no instructions, half-expecting a mess. Twenty minutes later there were four dinosaur-shaped bars cooling on the counter and no soap on the ceiling. That’s the real case for melt and pour with kids — not that it’s simpler chemistry, but that the failure mode is boring. A pour that’s too hot gets a few surface bubbles, not a ruined batch.
These six recipes use only cosmetic-grade micas and oxide pigments, nothing that isn’t rated for skin contact and nothing that behaves the way food dye or craft glitter does once it hits a soap base. Shapes come from silicone molds instead of knife work, so pouring a star or a dinosaur takes no more skill than pouring a plain bar.
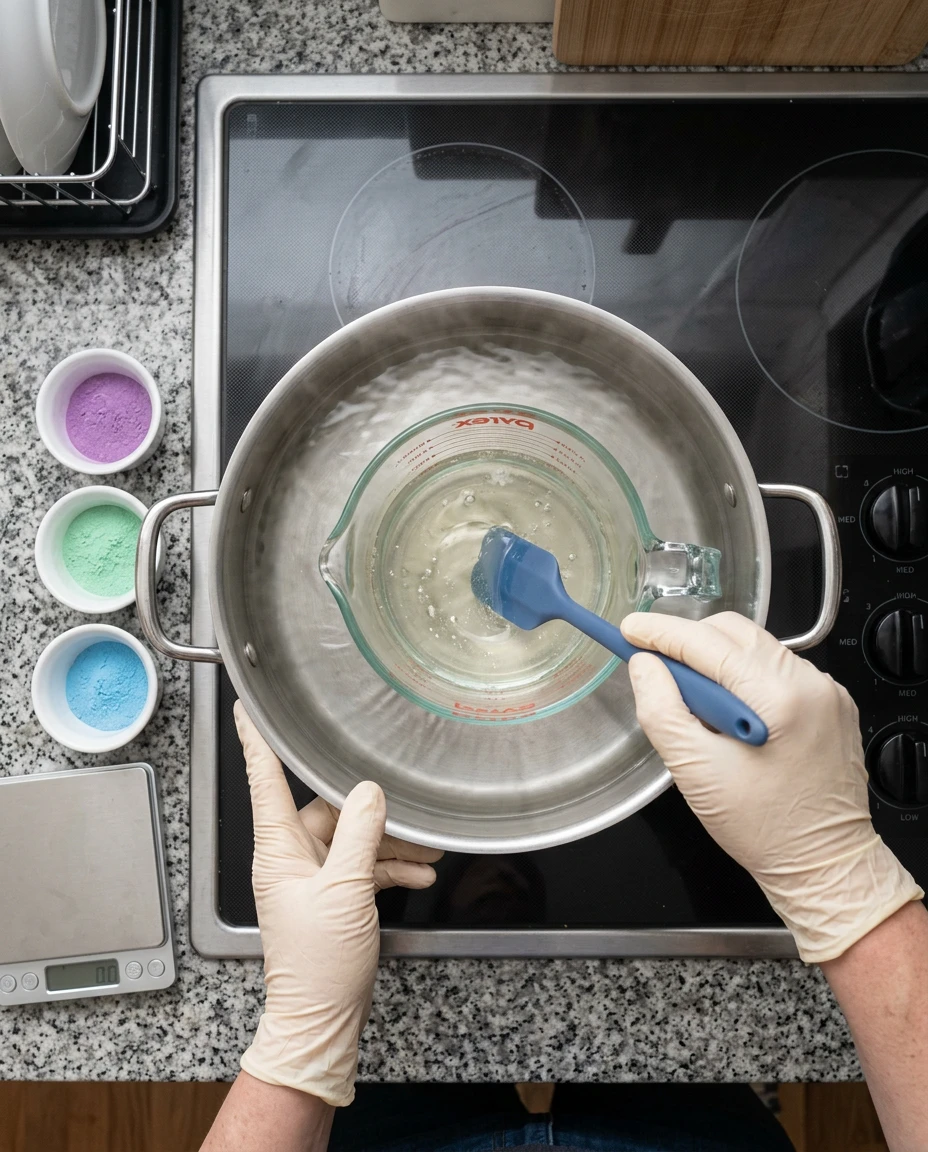
Melted soap base runs around 55°C to 60°C (130°F to 140°F). Not boiling, but hot enough to blister skin on contact. Melting and the first pour are an adult’s job. Once the base has cooled to around 50°C and stopped steaming, a kid can take over mixing in color and pouring into a mold.
Jump to
Rainbow Layered Stripe Bars
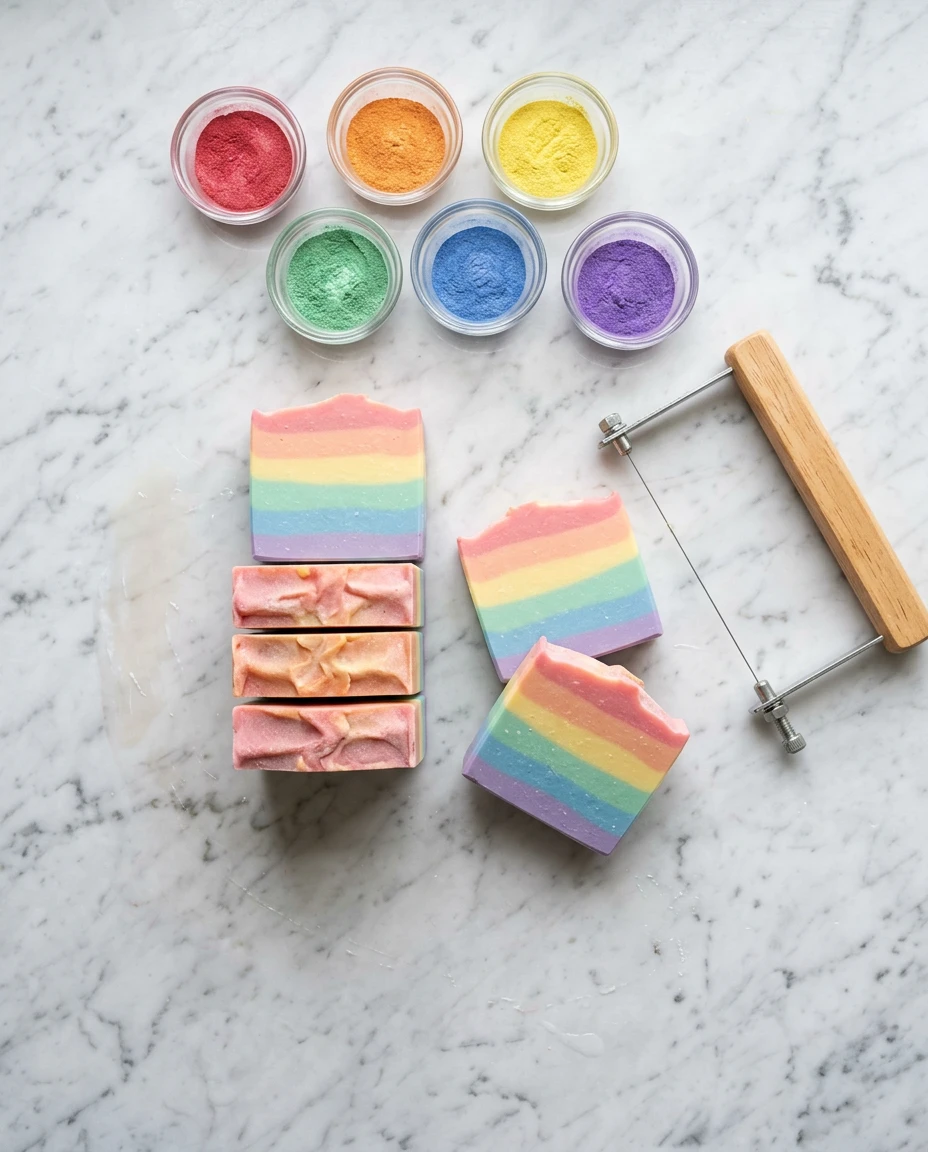
Melt 450g of clear glycerin base in 20-second microwave bursts, or in a double boiler held around 57°C. Split it into six 75g portions once it’s fully liquid, and stir about 1/8 teaspoon of cosmetic mica into each, one shade per portion. Pour the first layer into an 8-cavity strip mold, mist the top once with 91% isopropyl alcohol to knock down bubbles, and wait about four minutes for it to skin over before pouring the next color on top. Six layers takes roughly 35 minutes start to finish, most of it waiting. Rush that wait and the layers bleed into each other instead of staying sharp. Yields 8 bars around 55g each.
Star and Dinosaur Shape Bars
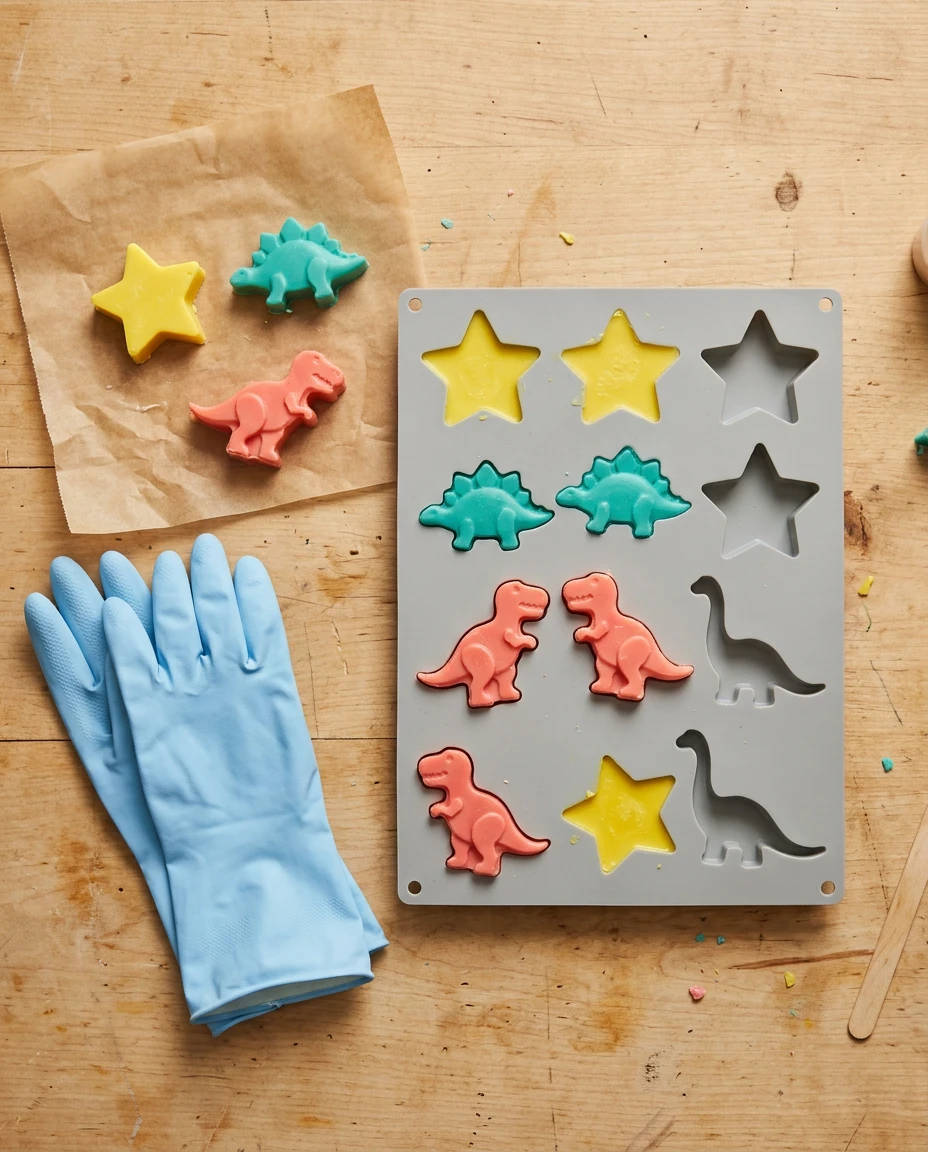
This one is really about the mold, not the recipe. Melt 400g of white base, divide it into four 100g portions, and mix a different mica into each, about 1/4 teaspoon per portion. Let the base cool to around 54°C before pouring — hotter than that and the surface pits with tiny bubbles as it sets in a detailed cavity. One alcohol spritz right after pouring, then 45 minutes at room temperature, or 15 in the fridge if nobody wants to wait. A six-cavity star-and-dinosaur mold yields 6 bars around 65g each.
Goat Milk Sensitive-Skin Bars
Goat milk base scorches if it gets too hot. Past about 65°C the milk sugars start to brown, and the bar comes out the color of weak tea instead of its usual ivory. Melt 500g slowly, checking it every 15 seconds in the microwave rather than running one long cycle. Stir in a tablespoon of finely ground colloidal oat flour once it’s fully liquid. Skip fragrance oil for a kid who reacts to scented products, or add it light, around 0.3% of base weight, about four drops per 500g, if scent matters more than caution here. Pour into a round mold and let it set for about an hour. Yields 5 bars around 95g each.
Suspended Confetti Bars
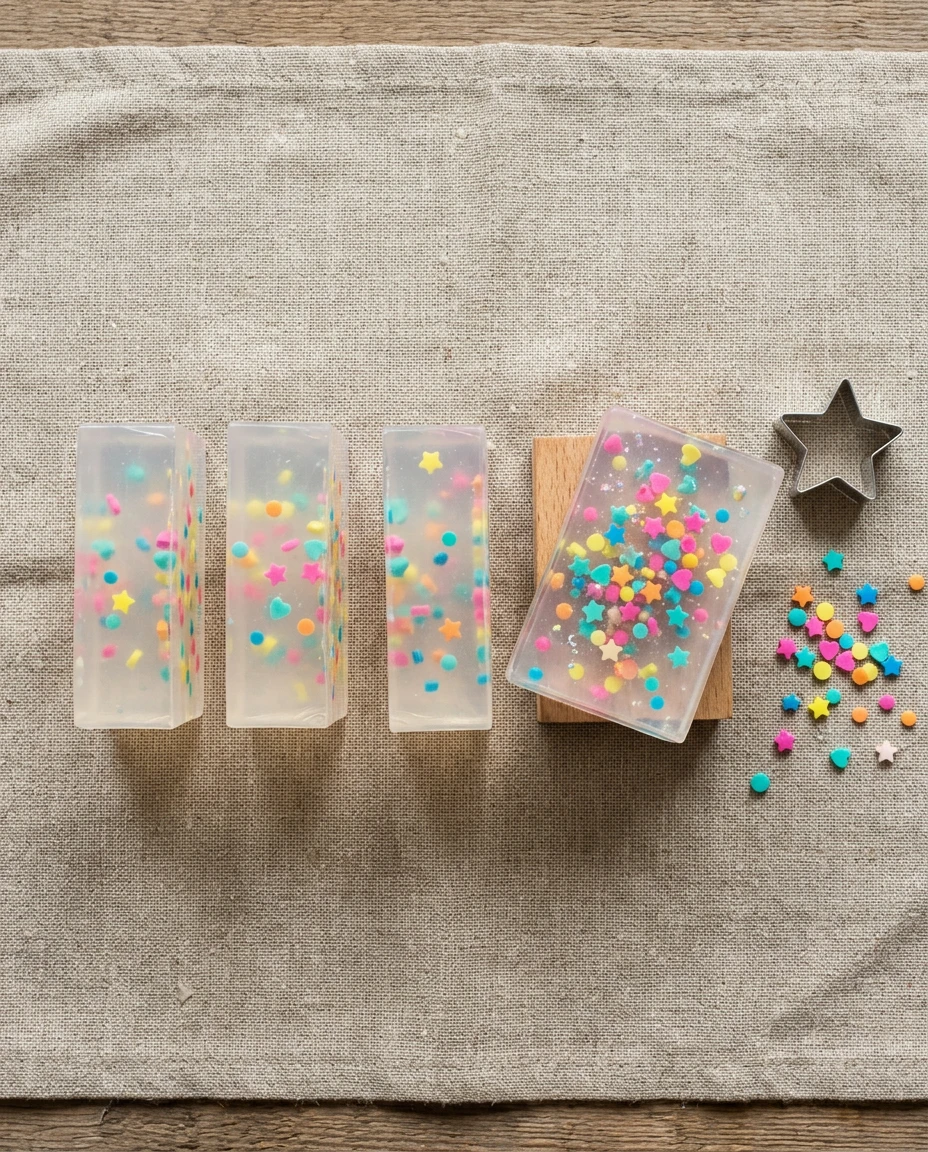
Confetti bars need two pours, done a couple of hours apart or on two different days. First, pour 150g of tinted clear base about 4mm thick into a flat tray and let it set for 20 minutes, then cut it into small stars and hearts with mini cutters — that’s your confetti. For the main pour, melt 400g of clear base and let it cool to around 55°C. Any hotter and the confetti sinks to the bottom instead of floating through the bar; the base needs to be thick enough to hold the pieces where you drop them. Scatter confetti into the mold cavities first, then pour the base over it. Cool for 40 minutes. Yields 7 bars around 70g each.
Two-Tone Ombré Swirl Bars
Split 500g of base into 350g clear and 150g white, then divide the clear portion into three unequal parts and tint them the same color at three strengths — 1/8 teaspoon of mica for the lightest, 1/4 for the middle, 1/2 for the darkest. Pour the three shades side by side into a slab mold with the white poured last down the center, then drag a skewer through once, not five times. One pass gives a soft gradient; too many turns it muddy. Let the slab set fully, about an hour, before cutting into bars. Yields 9 bars around 55g each.
Faceted Gemstone Bars
Melt 450g of clear base and split it into two 225g portions, each tinted a different jewel tone, amethyst purple and emerald green. Pour thin ribbons of each color into a faceted gem-shaped mold, alternating so every cavity ends up with a two-color marble instead of one flat shade, misting with alcohol between colors to keep them from separating into hard layers. The deep facets in a gem mold trap heat longer than a flat mold, so give these closer to 50 minutes before unmolding instead of the usual 40. Yields 8 bars around 50g each.
None of these six need a scale accurate to the gram, which is most of why melt and pour works as a kids’ project in the first place — a few grams off in either direction and the bar still sets fine. The trade-off shows up later: these bars run softer and shorter-lived than anything built from raw oils and lye, and a bar in daily use is often gone within six to eight weeks. For something a kid made from start to finish, that’s a fair exchange.