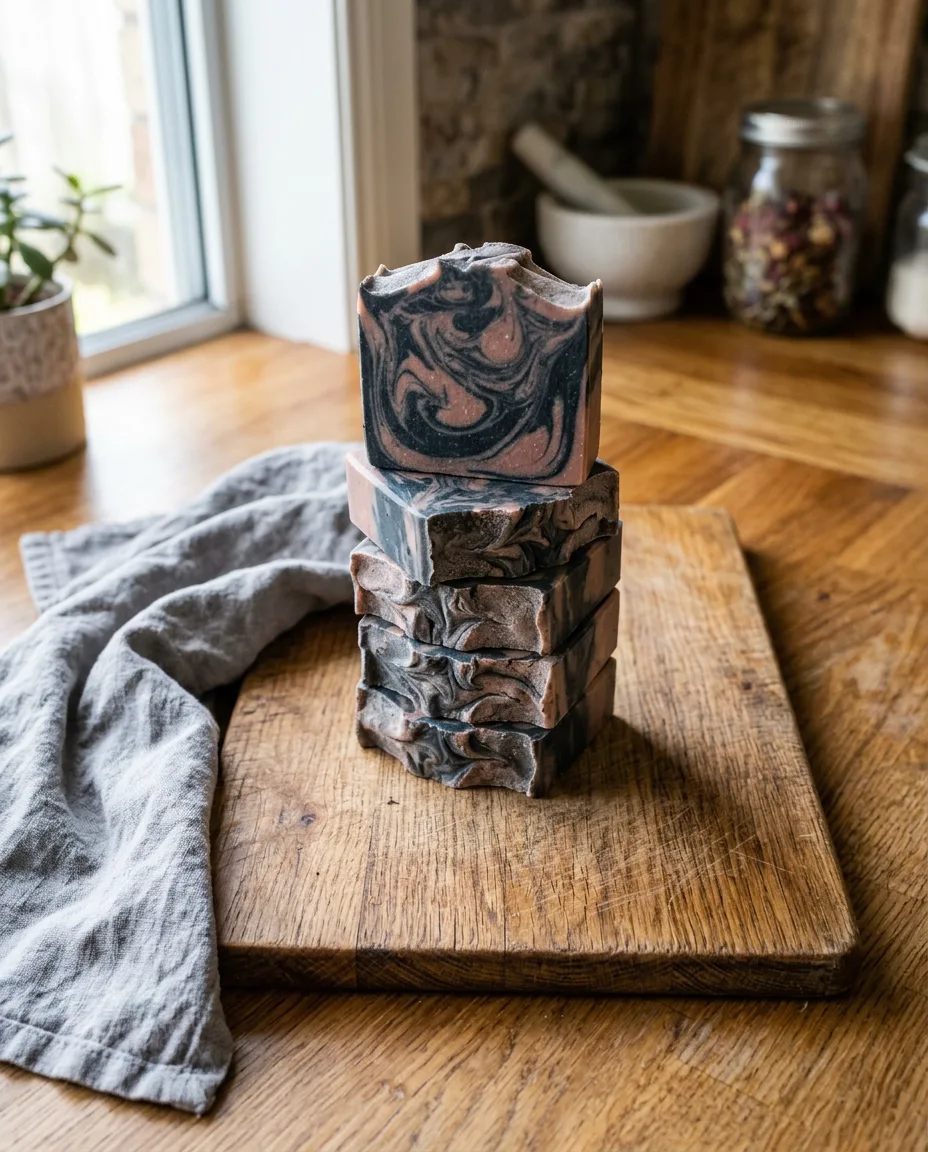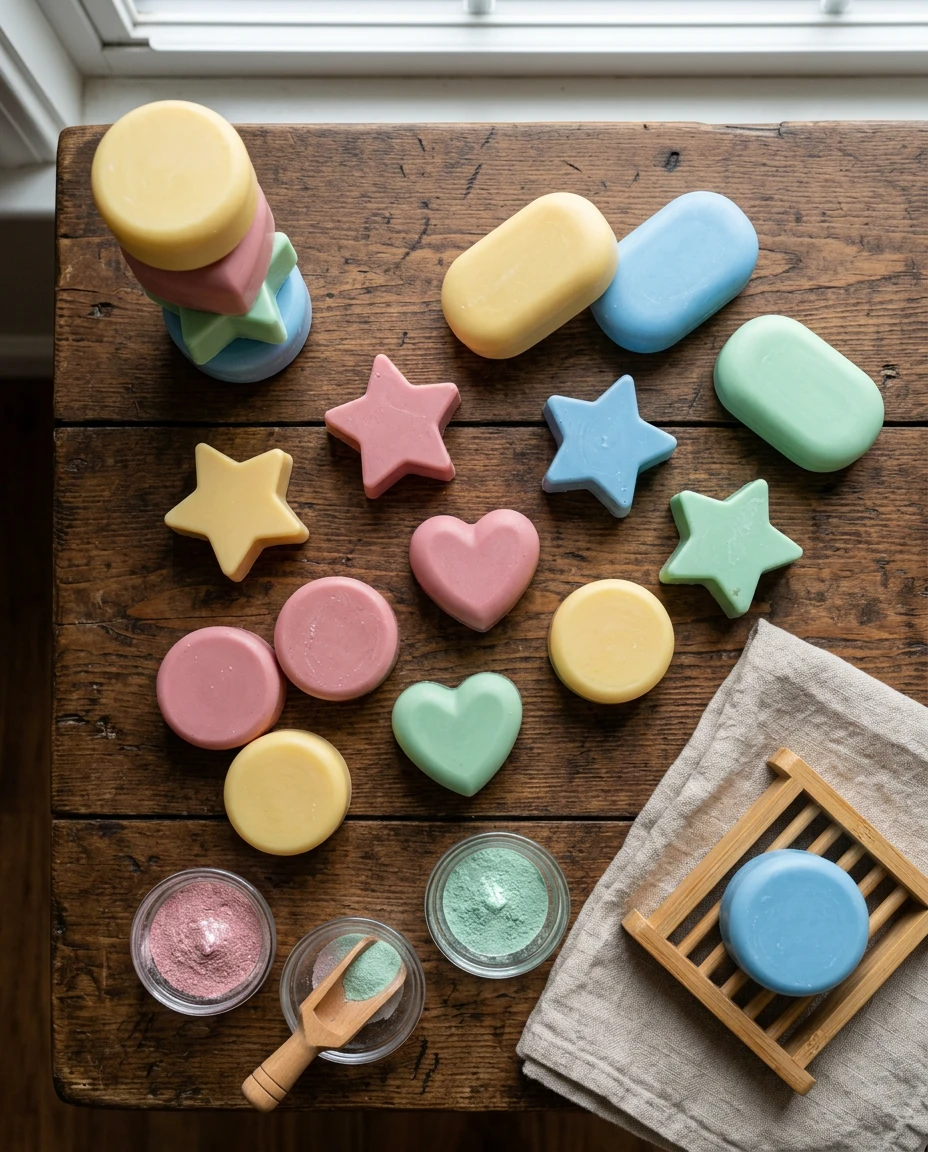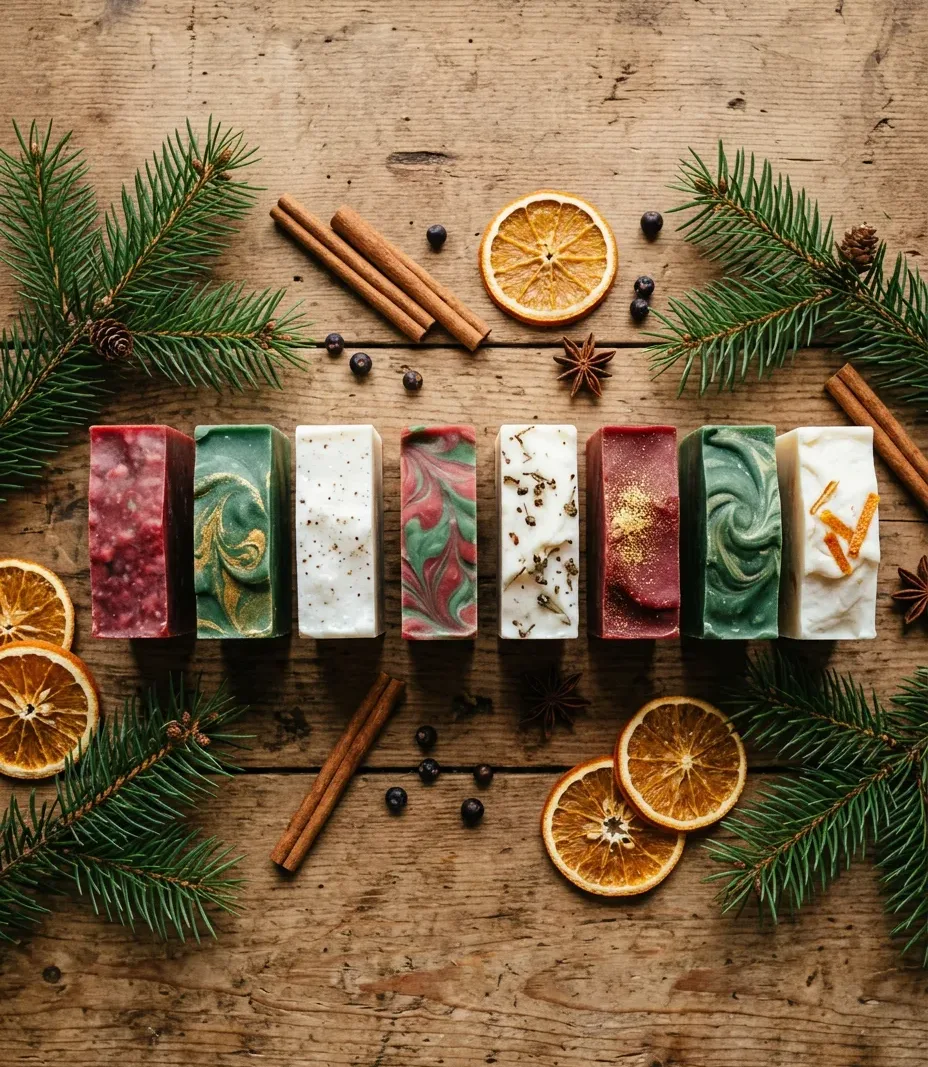
My nephew set up a soap table at three family parties in a row, handing out bars he’d melted and poured himself the week before. He never got bored of it — a two-dollar block of melt-and-pour base and an hour on a Saturday, and suddenly he had something to give that wasn’t bought. That’s the appeal of holiday soap as a kid project: low mess, fast payoff, and a finished object by dinnertime.
None of the seven recipes below touch lye. Melt-and-pour base is pre-saponified, so a kid can measure, stir, and pour without an adult handling caustic chemistry at any point. Most bars are ready to unmold in 20 to 30 minutes in the fridge, and they’re hard enough to wrap within the hour. Skip ahead to whichever one fits your holiday — or work through all seven and call it a tradition.
Age matters more than the recipe does. A five-year-old can stir and pour with a hand on the pot; a ten-year-old can measure mica and read a thermometer without much oversight. Match the harder recipes here — the ones with a two-pour shape or a specific temperature target — to whoever’s oldest in the room, and hand the simple single-pour bars to whoever’s smallest.
Jump to a recipe
Peppermint Candy Cane Swirl Bar
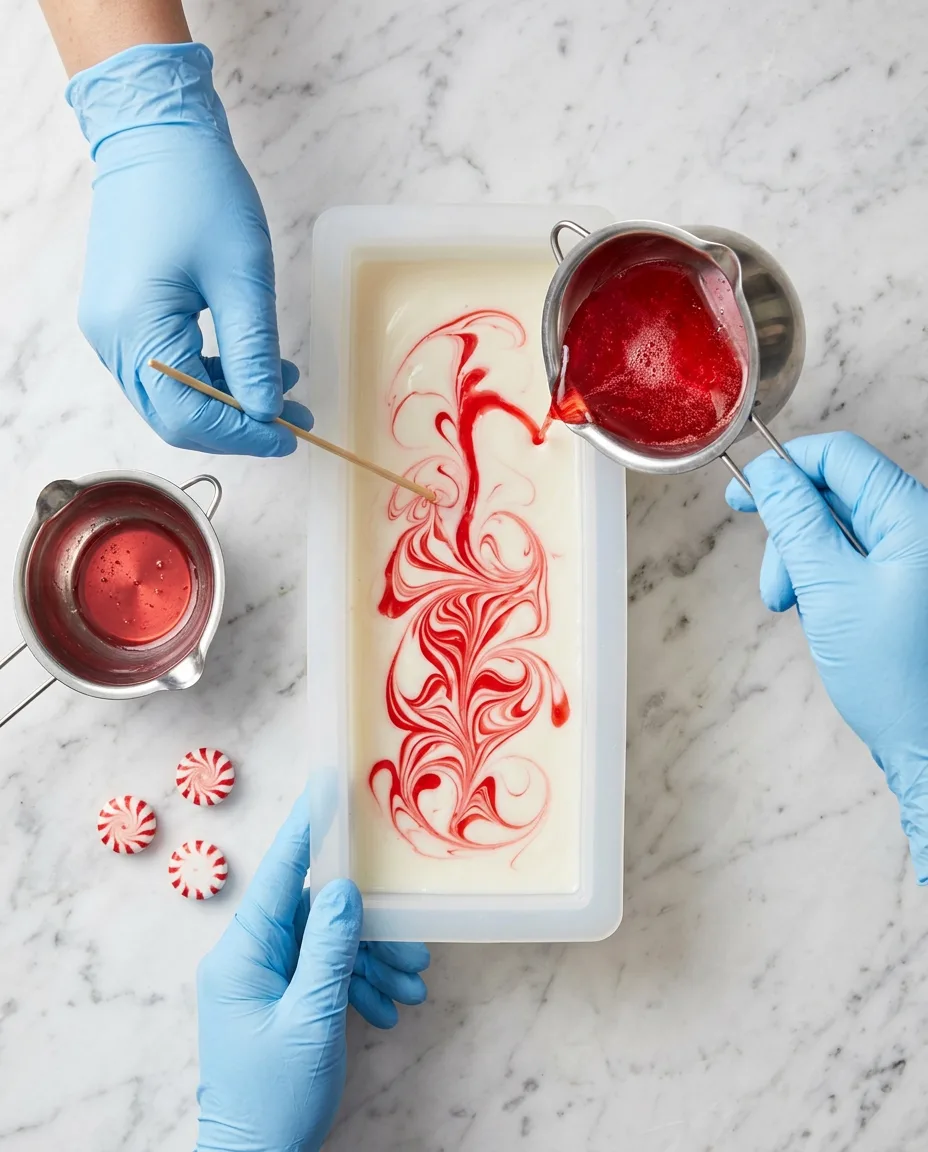
Red and white base, swirled together right before the pour, so the pattern is different every single time. Melt 400 grams of white melt-and-pour base and 100 grams of clear base separately. Color the white portion with a pinch of red mica, add 1 teaspoon of peppermint essential oil to each pot, then pour the red in a thin stream over the white and drag a skewer through it twice — no more. Overworking the swirl muddies it into pink. This one’s the fastest of the seven: from melting to fridge in under 15 minutes.
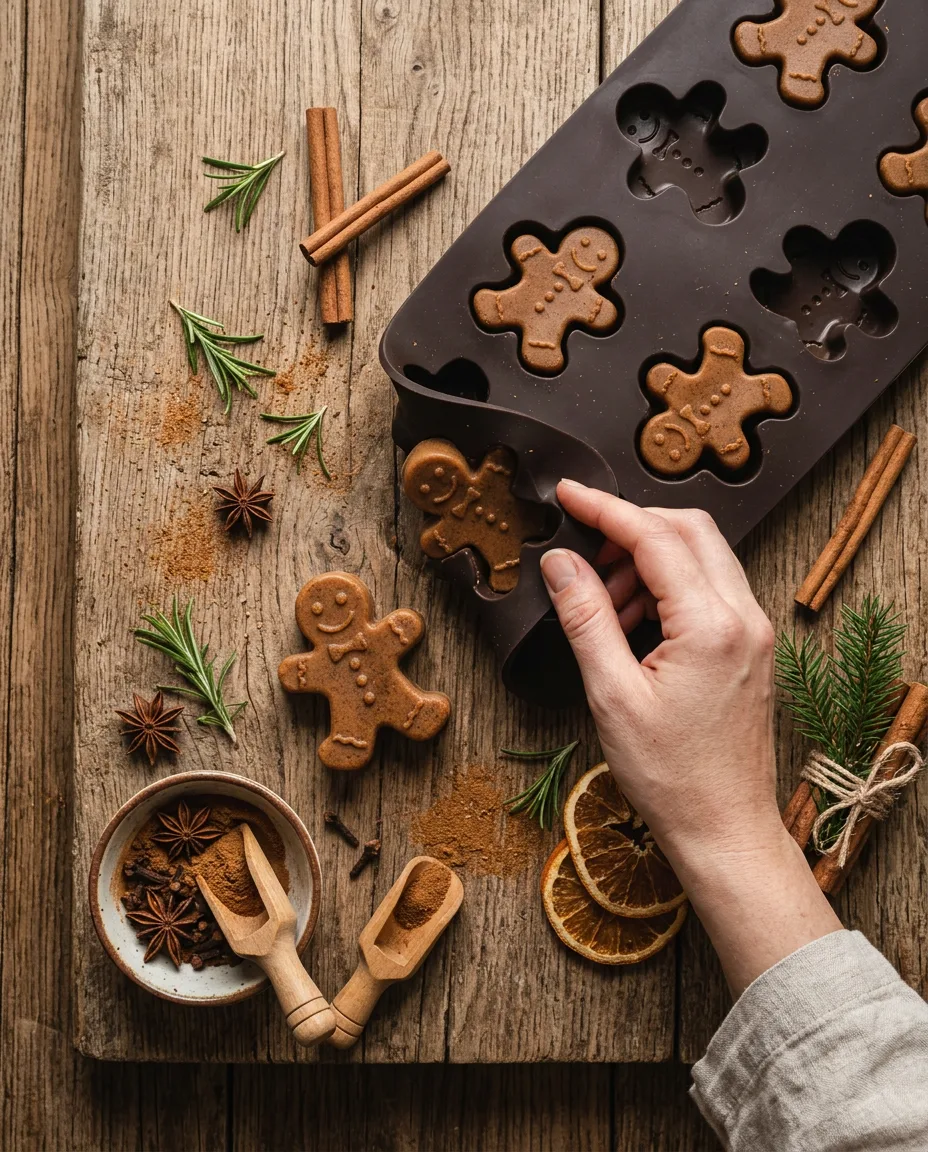
Gingerbread Man Silhouette Bar
A gingerbread-man silicone mold does the shape work, so the recipe itself is closer to a base tint than a technique. Melt 450 grams of goat milk melt-and-pour base, stir in 2 teaspoons of ground cinnamon and 1 teaspoon of ground cloves for both scent and the brown color, then pour into the cavities. The spice sinks slightly as it cools, so give the pot a stir right before every pour or the last few bars come out pale. Unmold after 25 minutes in the fridge. A single batch fills about six cavities in a standard mold, so double it if you’re making enough for a whole classroom.
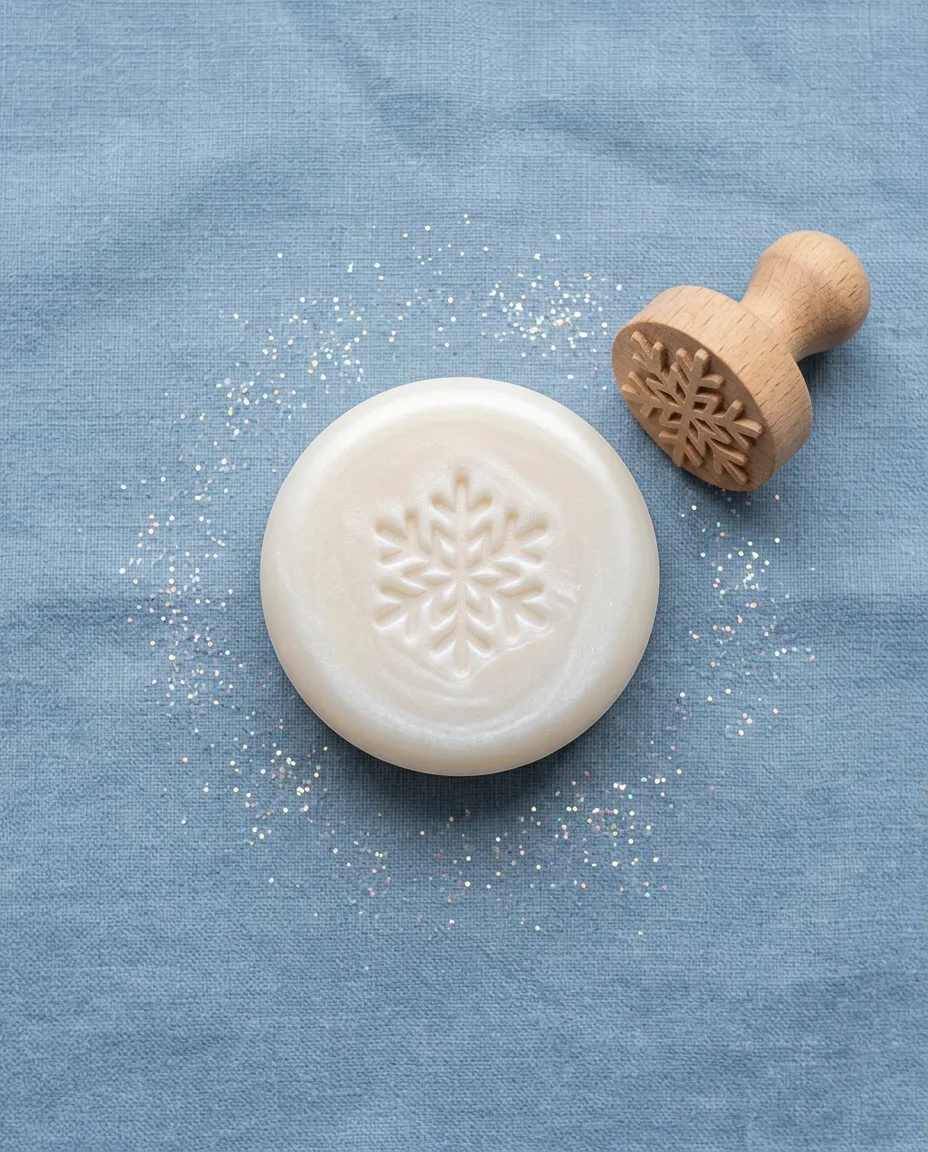
Snowflake Confetti Bar
This one takes two pours instead of one, which is why it lands a notch harder than the rest. Cut a clear melt-and-pour base into thin snowflake shapes with a mini cutter, let them set fully, then suspend them inside a second batch of white base poured around them. The trick is temperature — pour the surrounding base too hot and the snowflakes partially melt and blur. Aim for 50°C on a kitchen thermometer, no hotter. Kids can cut the shapes; an adult should read the thermometer.
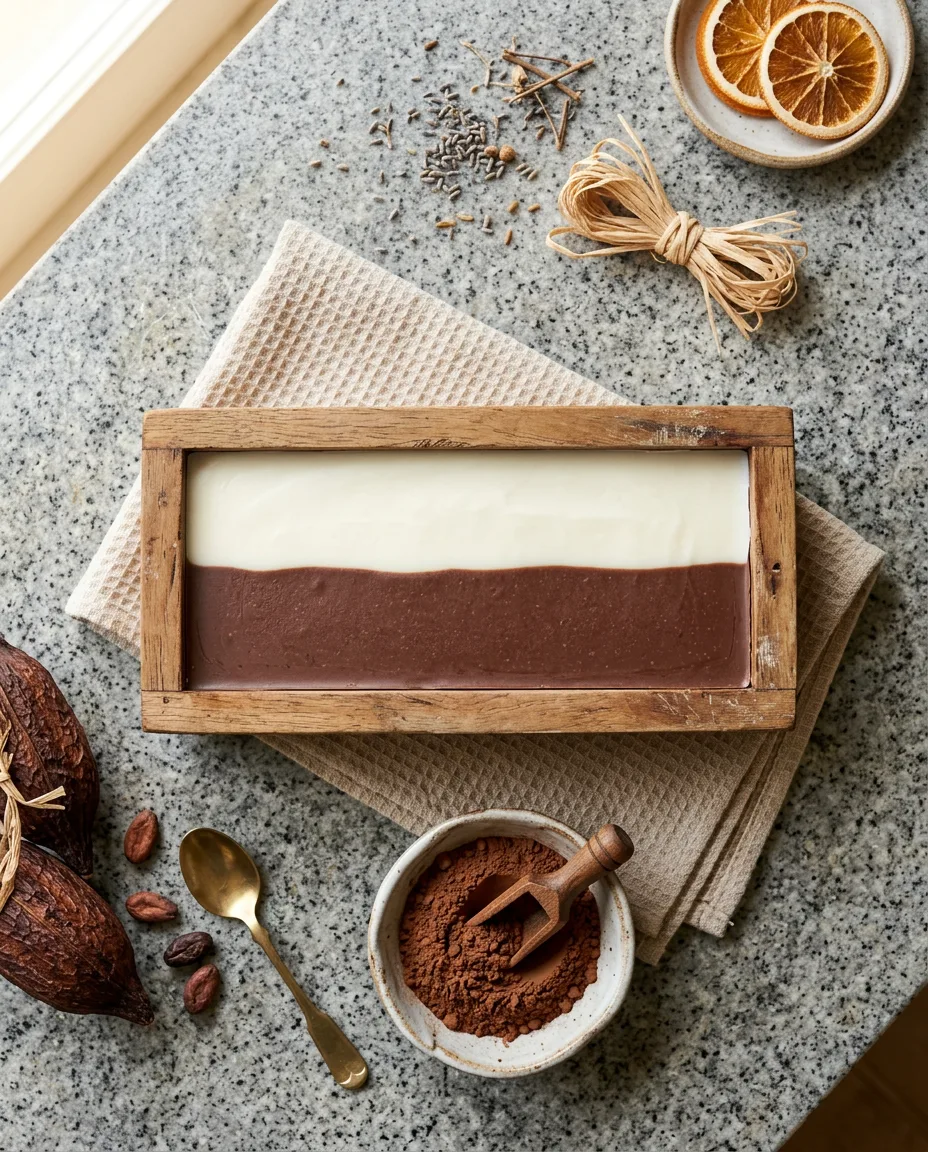
Hot Cocoa Marshmallow Bar
Two-layer bar, chocolate brown on the bottom and white on top, meant to look like a mug of cocoa from the side. Melt 300 grams of base with 1 tablespoon of cocoa powder for the bottom layer, pour it into a loaf mold, and let it firm up for 10 minutes before adding a plain white top layer. Skip the cocoa powder if you want a cleaner scent — it does very little for lather and everything for how it smells while you’re stirring it. Pour the top layer slightly cooler than usual, around 55°C, or the heat melts back into the layer below and the two blend into a muddy tan instead of staying distinct.
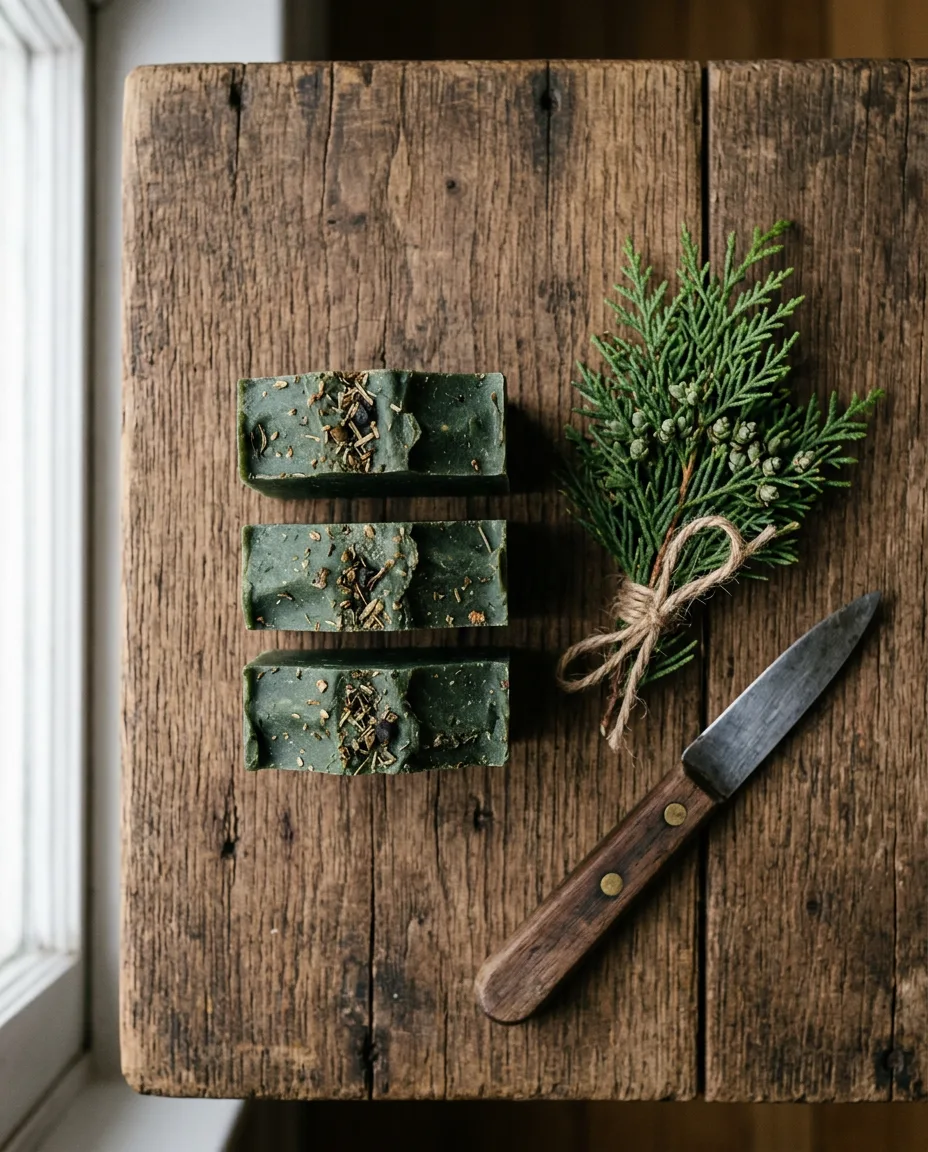
Pine and Cedar Forest Bar
Green base flecked with real dried herbs, meant to smell like the tree in the room rather than a candle aisle. Melt 400 grams of base tinted with green mica, stir in 1 teaspoon of dried rosemary and 5 drops each of pine and cedarwood essential oil, then pour. The dried herb sinks unless you pour at a slightly cooler 45°C — thinner base holds the flecks suspended instead of dropping them all to the bottom of the mold.
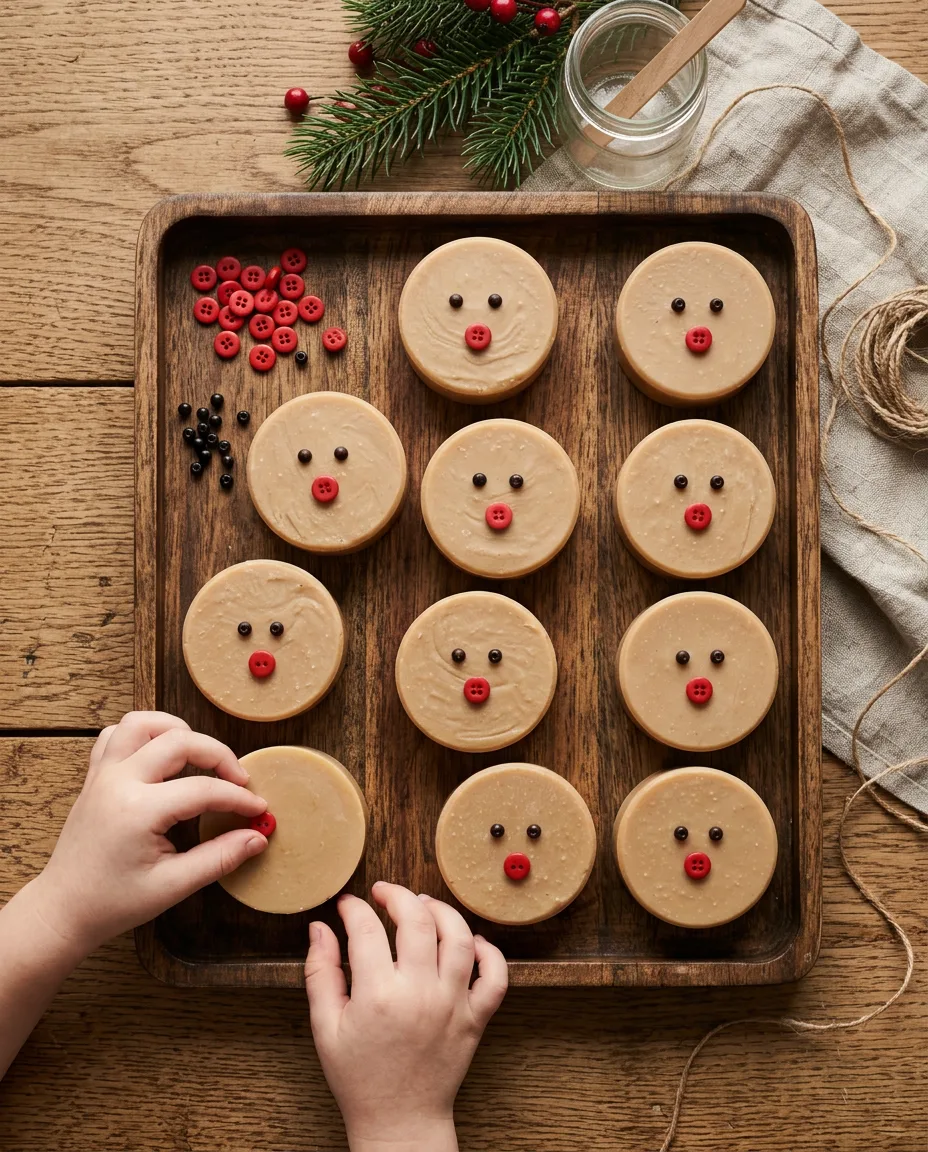
Reindeer Face Bar
A round mold, two mini chocolate-chip eyes pressed in by hand, and a red pom-pom nose cut from a second color of base. This is the one that gets the most requests for a second batch — kids like placing the eyes more than almost any other step here. Melt 350 grams of tan-tinted base for the face, pour, and let it skin over for about 5 minutes before pressing the features in, or they sink straight through to the bottom.
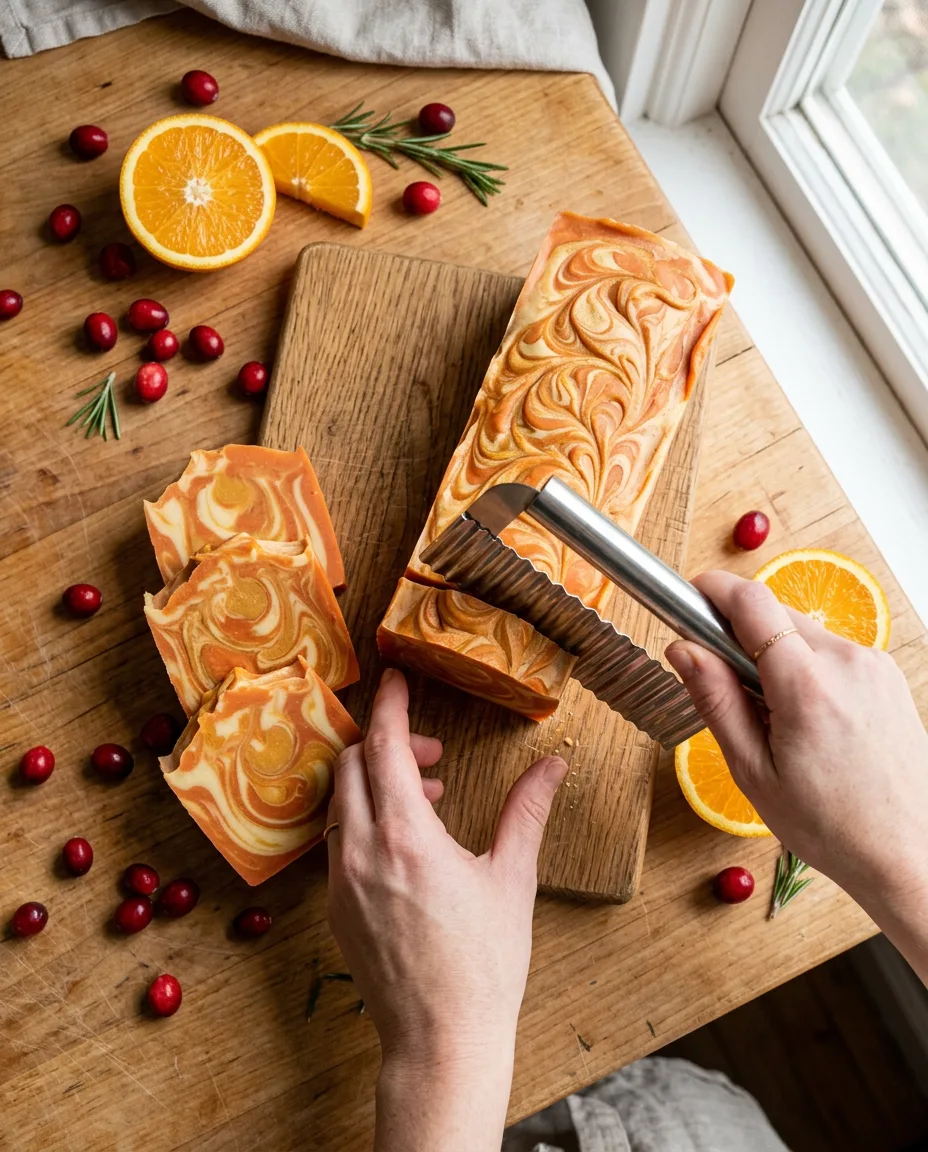
Cranberry Orange Spice Bar
Cut this one into bars instead of unmolding a single shape, so it doubles as a gift-wrapping project. Melt 500 grams of base tinted a deep orange-red, add 1 teaspoon of orange essential oil and a pinch of ground cardamom, then pour into a loaf mold. Once firm, slice into 6 bars with a wavy crinkle cutter for a decorative edge — a straight knife works too, it just looks plainer. This is the one that smells most like the holiday itself, and it’s the bar most kids ask to make again in January.
Melt-and-pour bars don’t need six weeks of anything — they’re solid enough to trim and wrap the same day, though a full week untouched firms them up further and makes for a cleaner cut. Pick two or three from this list rather than all seven in one sitting if you’re working with a kid under eight; the pours cool fast, and rushing the last one is where most bars crack. Wrap the finished bars in wax paper or cellophane and twist the ends — they hold their scent for months in a drawer, the same as anything bought at a shop.