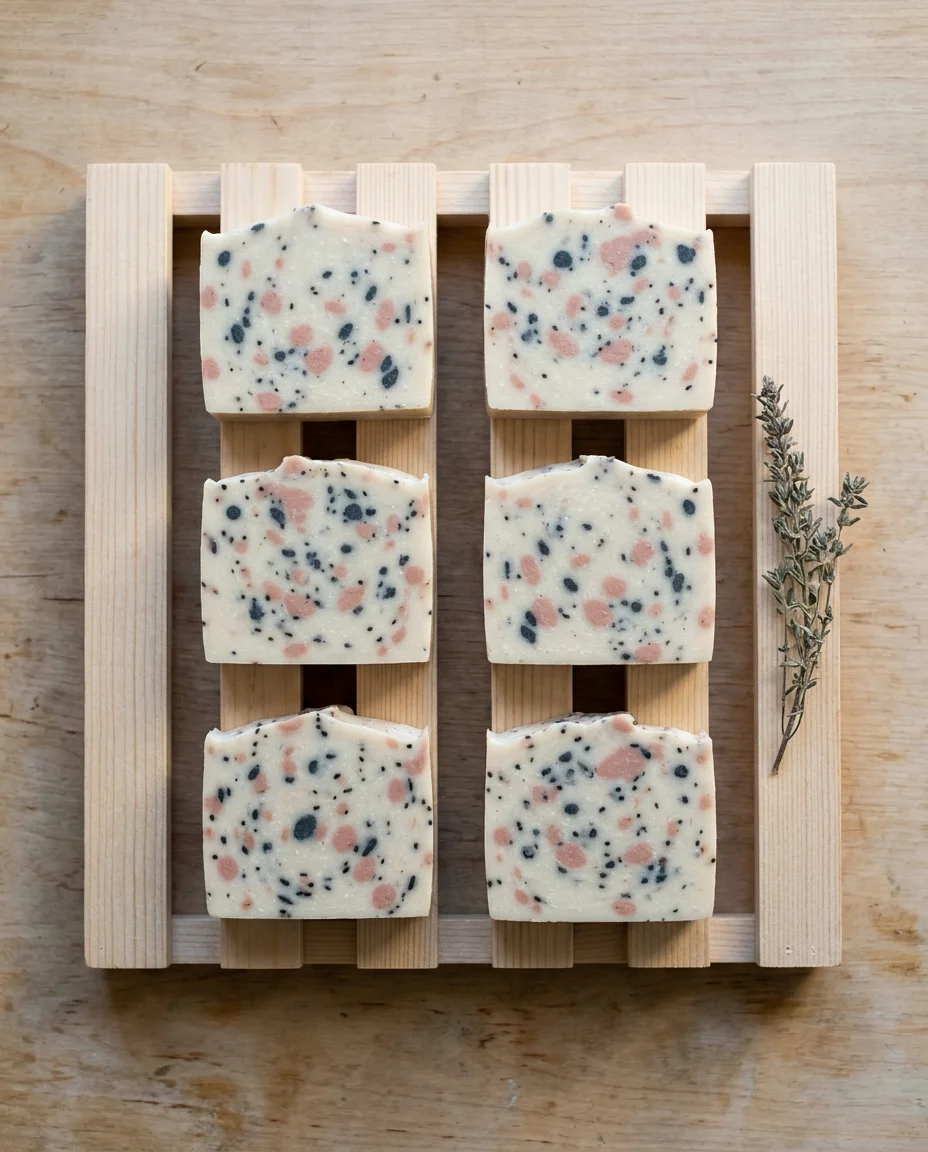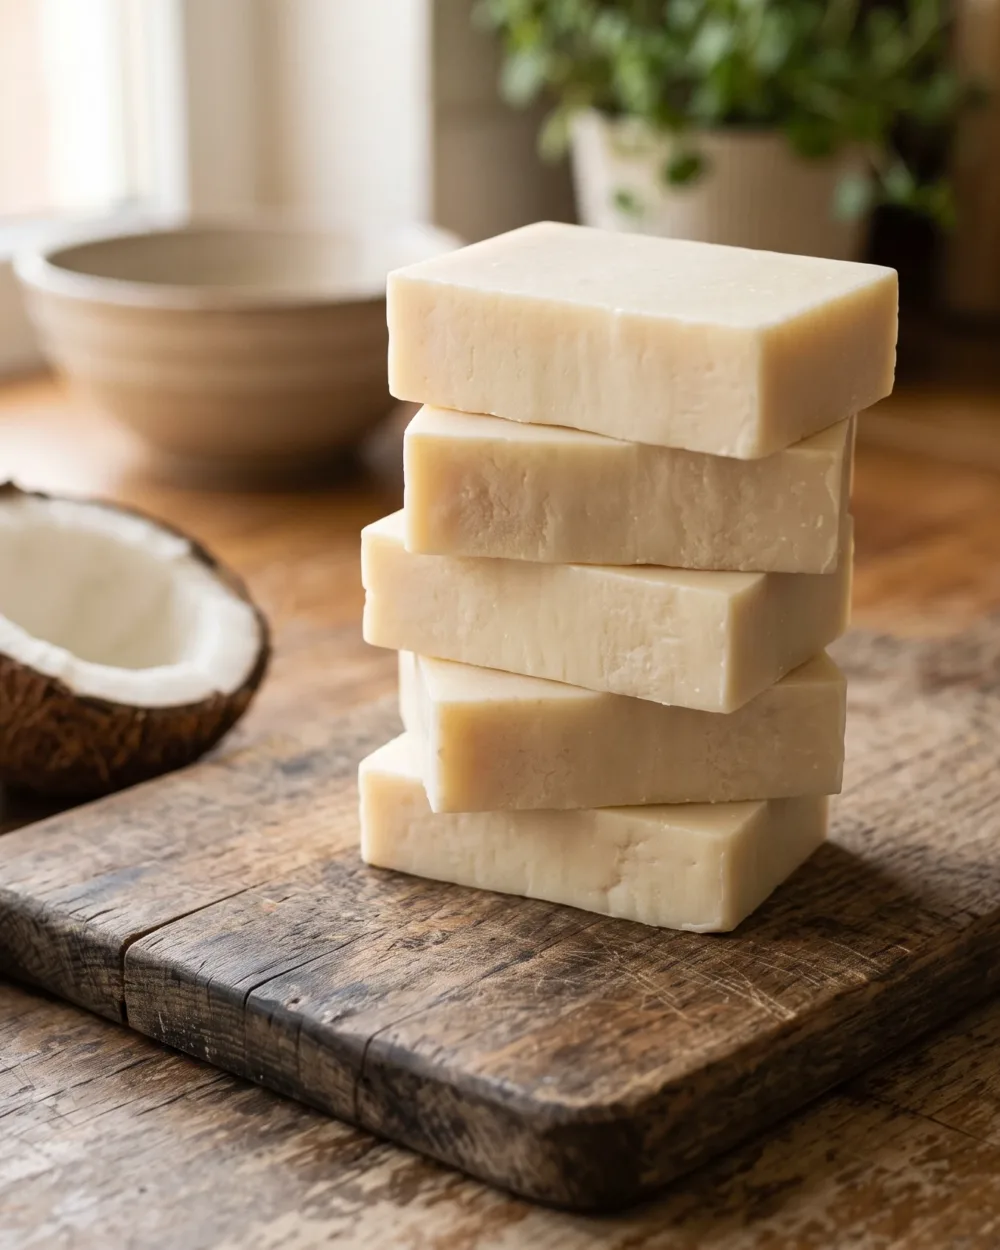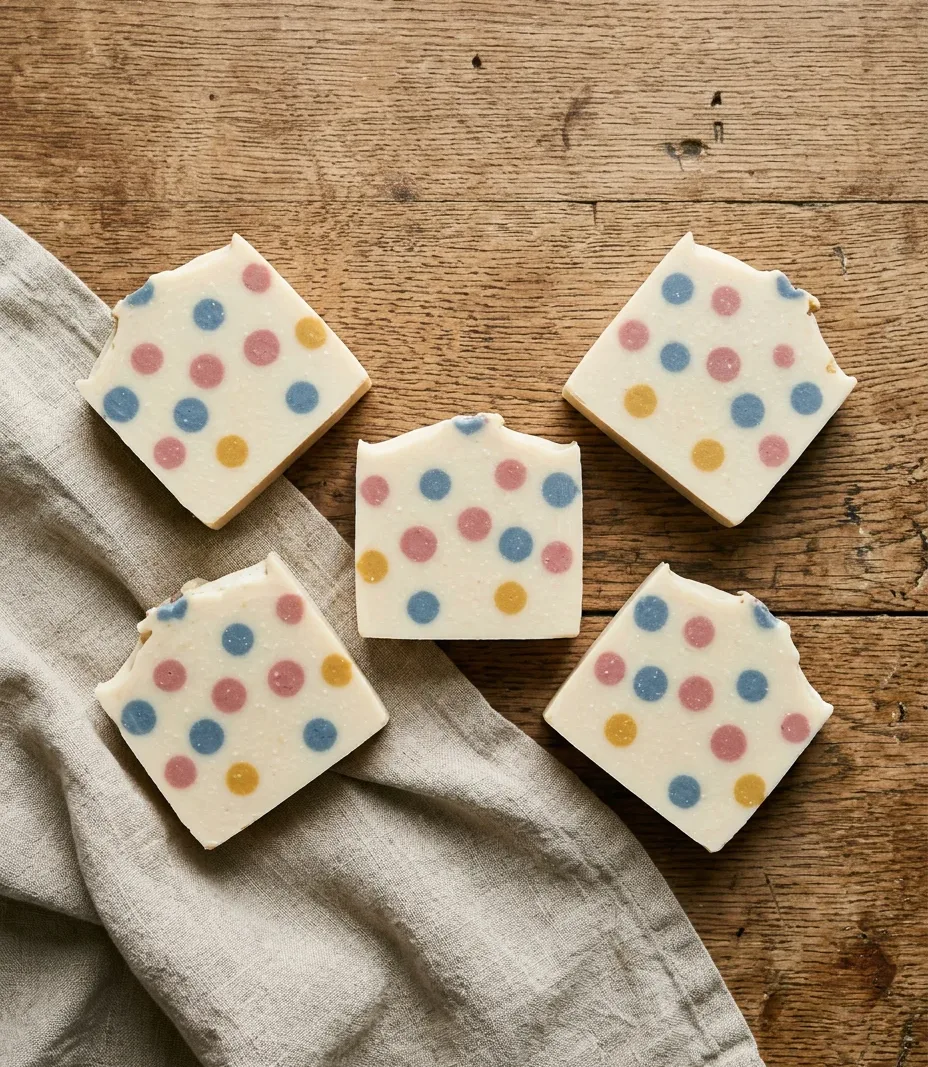
My first attempt at a nonpareil pour turned into a single muddy brown streak. I’d dropped four colors too fast, one right on top of the last before it had time to sit, and nudged the mold half an inch across the counter looking for a level spot — enough movement to smear every dot into the next. The fix had nothing to do with color choice or trace and everything to do with waiting.
Nonpareil candy gets its dotted look from sugar pearls scattered on top before the chocolate sets, never stirred through it. Soap batter works the same way once you stop touching it. Drop small circles of colored batter into a plain base, leave them completely alone, and the cross-section reads as scattered dots instead of a marbled ribbon. It’s one of the few advanced-looking effects in soap making that doesn’t need a swirl tool at all — it needs patience instead.
Why this beats a traditional swirl for a first attempt
A dragged swirl needs the batter to stay loose enough to move cleanly through every layer, which means racing the clock. Nonpareil dots don’t move once they’re placed, so a slightly thicker batter actually behaves better here than a thin one. There’s less that can go wrong in the ten seconds after you pour.
What you’ll need
Beyond your usual cold process kit — digital scale accurate to 1 gram, stick blender, safety goggles, gloves, long sleeves — a nonpareil batch wants a few extras: 3 to 4 small cups for coloring split batter, a couple of squeeze bottles or just spoons for placing dots, and a loaf mold lined with freezer paper or a silicone liner. Stick to 3 or 4 colors for your first attempt. Five or more start competing with each other in the cross-section, and the pattern reads as muddy instead of dotted.
The oils, by the numbers
This batch runs 1,000 grams of oils: 35% olive, 25% coconut, 20% palm, 15% rice bran, 5% castor. At 5% superfat that works out to 139.1 grams of sodium hydroxide, dissolved in 350 grams of water — a lye concentration of about 28.4%. That’s on the looser side deliberately. A softer trace gives you more time to place four or five separate colors before the base batter tightens up and stops accepting new pours cleanly.
Color and split your base
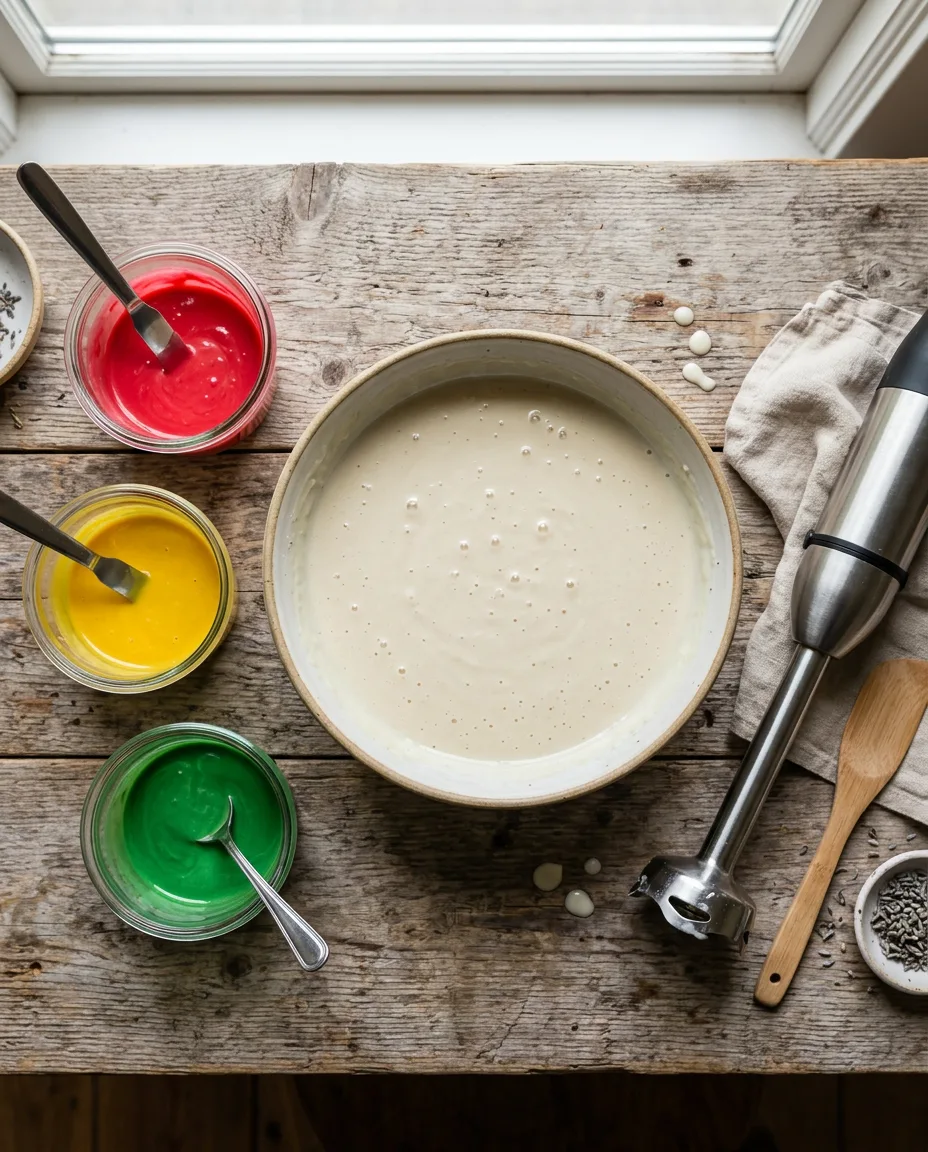
Bring your main batter to a thin, pourable trace — thin enough to move like heavy cream, not pudding. Pour off roughly a third into your color cups and leave the rest uncolored as your background. Tint each cup separately, stick-blending in short bursts so you don’t accidentally thicken just the colored portions past where the uncolored base sits. Uneven trace between the batches is the single most common reason a nonpareil pour goes wrong later — one color sinks, another floats, and the dots stop reading as a clean layer.
Pour your nonpareil dots
Pour a thin base layer of the uncolored batter into your mold, about a centimeter deep. Then start dropping color: small circles roughly the size of a US quarter, spaced with at least that much bare base between them. Let each dot sit for 15 to 20 seconds before adding the next one nearby — this is what keeps the edges crisp instead of merging into a blob. Repeat with a second thin layer of base, then more dots, alternating until the mold is full.
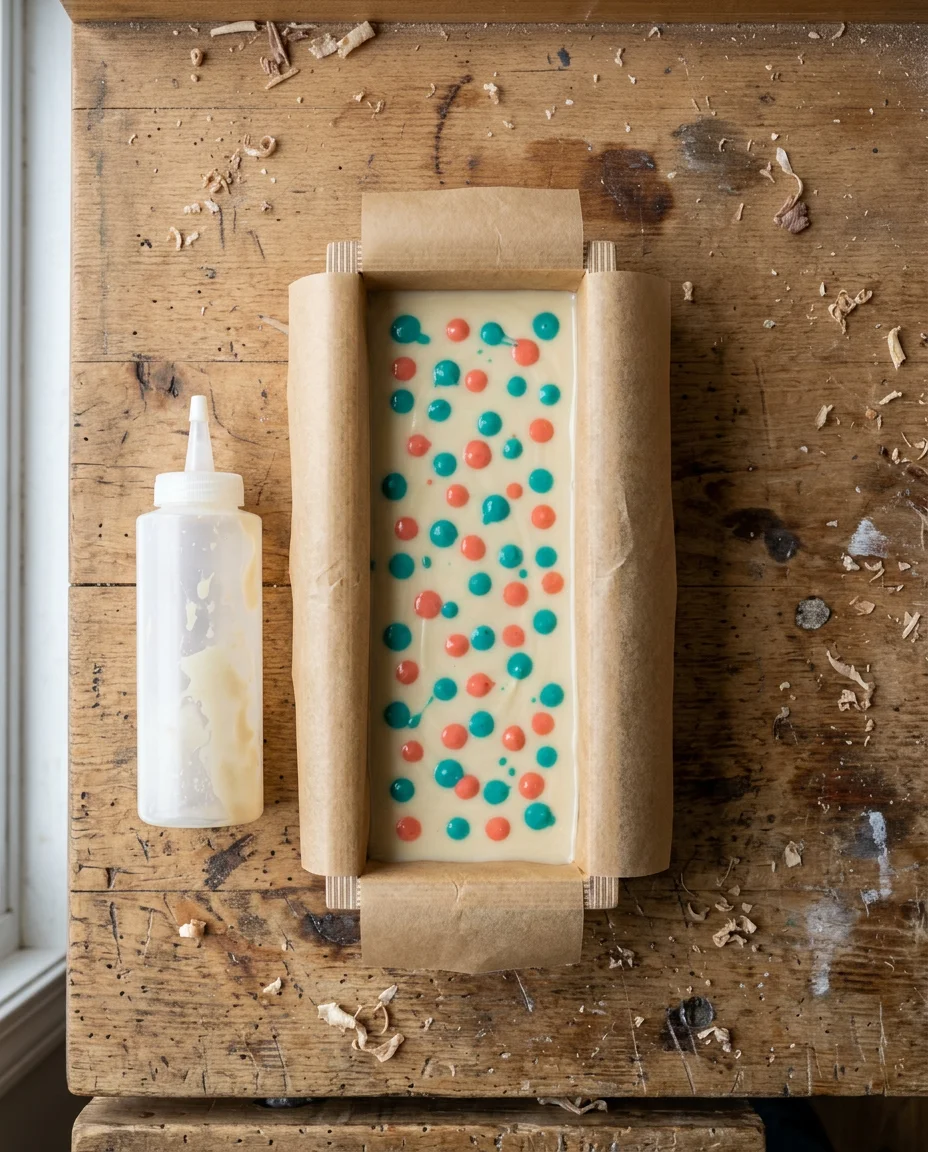
The mistake almost everyone makes on their first nonpareil batch is pouring the dots too close together on the first layer, then panicking and spacing the rest too far apart to compensate. Keep the spacing consistent from the first pour — it matters more than getting any single dot perfect.
Skip the swirl — this is the step people get wrong
Every instinct trained by other swirl techniques says to drag a skewer through the batter now. Don’t. The entire point of a nonpareil pour is that nothing moves after it’s placed. If you swirl, drag, or even tap the mold hard enough to shift the layers, the dots merge into streaks and you’ve made a different soap. Set the mold down gently, tap it once or twice from underneath only to release trapped air, and stop.
If a dot sinks instead of sitting flat
That’s usually a thin-batter color poured onto a still-liquid base layer. Give the previous layer another 60 to 90 seconds of set-up time before adding the next round of dots, especially with a looser trace like this one.
Mold, insulate, and rest
Cover the mold and insulate it with a towel for the first 18 to 24 hours so the batch gels evenly — an uneven gel is what turns a clean dot pattern patchy in places. Unmold once it’s firm enough to hold its shape, usually 2 to 3 days at this water amount, then set the loaf somewhere it can rest undisturbed for 6 weeks before you use it. That rest time isn’t optional cosmetic advice; it’s what lets the extra water evaporate out and the bar harden into something that lasts in the shower instead of dissolving in a week.
Cutting for the best cross-section
Cut perpendicular to how you poured the dots, not parallel — cutting the wrong direction slices straight down a column of dots and shows you a single stripe of color instead of the scattered pattern. A wire cutter gives a cleaner edge through the softer, still-fresh dot centers than a knife blade will. If a bar comes out with dots only near the top or bottom, that’s a sign the color layers were poured too close together at that point in the mold; space the next batch a little wider.
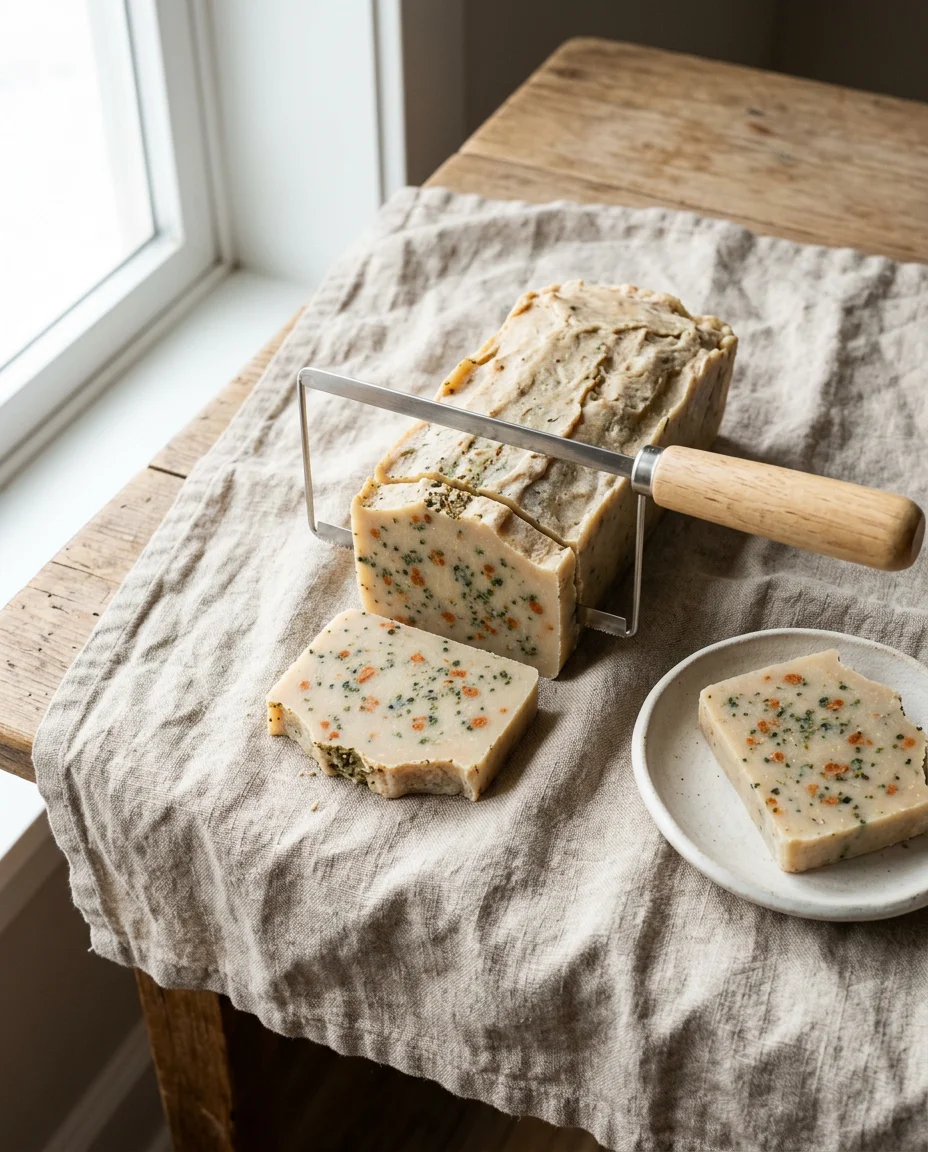
Troubleshooting the pattern
Dots bleeding into each other almost always trace back to trace being too thin when you poured, or waiting too long between the base layer and the color so the base partially set and pulled the color sideways as it settled. Dots that look faded or pastel instead of saturated usually mean the colorant was under-dosed — mica needs more than most people expect at this batter volume, closer to a full teaspoon per 100 grams of colored batter for oxides, more for mica depending on the pigment load.
Fewer colors, more spacing, and patience between pours will get you a cleaner nonpareil pattern faster than any amount of technique refinement. The look is forgiving of imperfect circles. It is not forgiving of rushing the layers.